


How-To Guides about Printmaking


how to
How to Make a Cheap DIY Silkscreen for Screen-Printing Logos & Designs on T-Shirts

how to
How to Create Photocopy Art Transfers

how to
How to Digitally print on uncommon surfaces


Featured On WonderHowTo:
Productivity & Shortcuts


Featured On WonderHowTo:
Music & Audio


Featured On WonderHowTo:
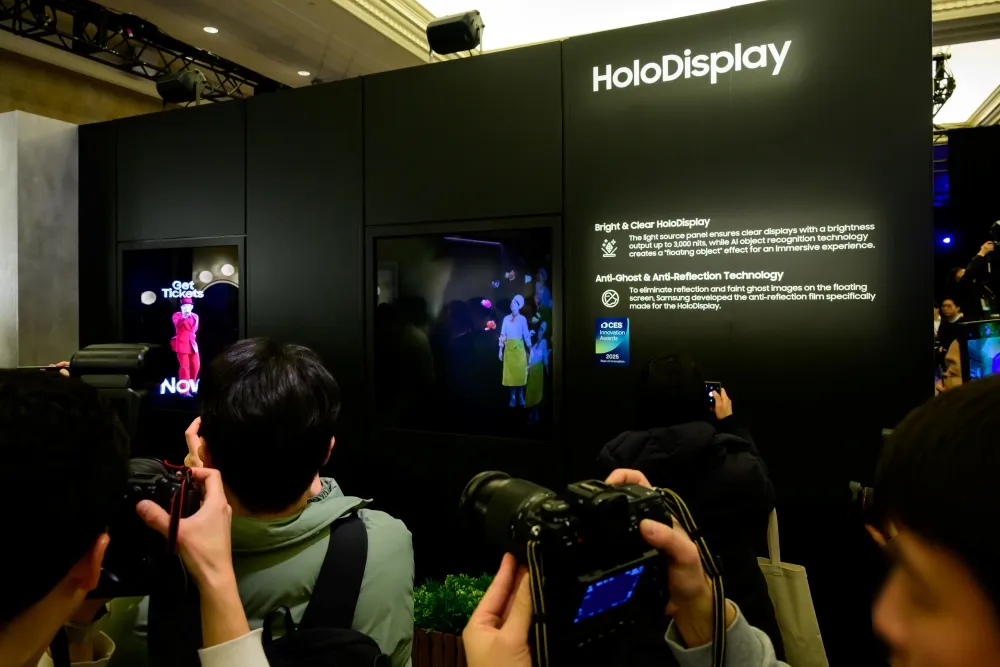
Augmented Reality


Featured On WonderHowTo:
Gaming


